Here is my design presentation document, created in inDesign, saved as a high quality PDF
Reflection on the assignment 2 and part 2.
I absolutely loved the activity of designing and presenting my folly. The whole process was easy to follow, and the elements became the bricks in my storyboarding plan.
Finding the issue and creating a mind map was a very quick activity for me. At first, I created a mind map on war in Ukraine, then I realised I was supposed to concentrate on one word, so I did another one that I used in my presentation document.
Here is the mind map I did not use:
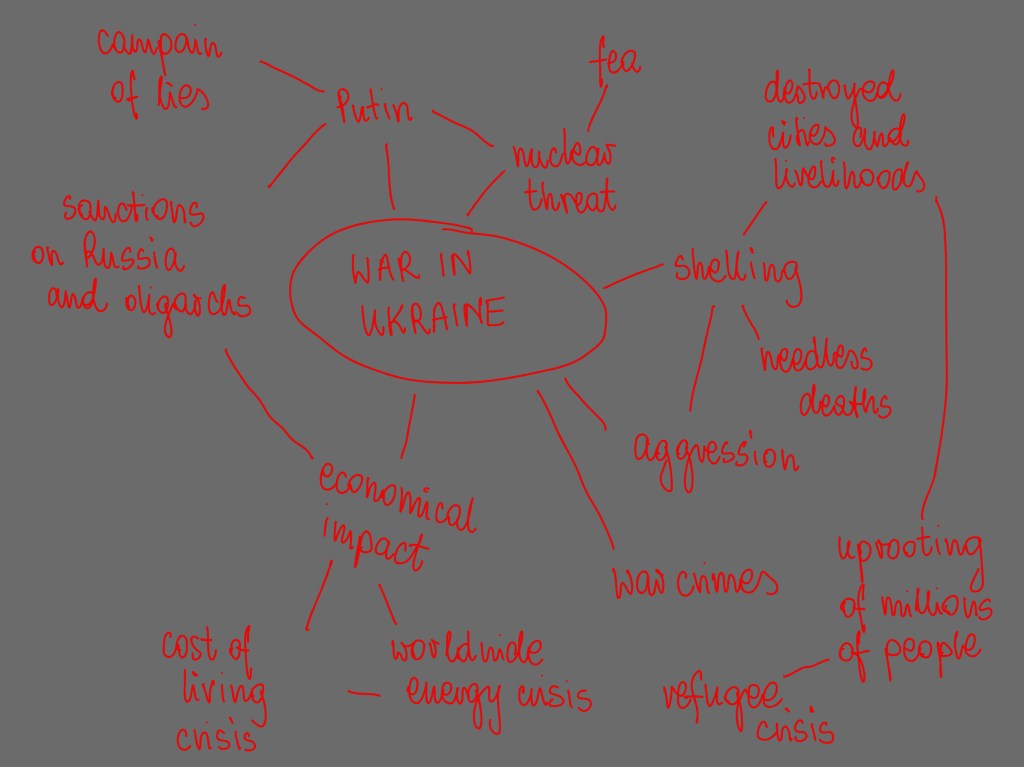
I decided to challenge the notion of boundary as it is somehow connected to the issue of war (where borders are challenged). I challenged it by placing two walls and criss-crossing them, then piercing opening through them.
I enjoyed the design development stage, I considered how can I create something fun with such serious connection. I chose the cross plan with red roof as a protest to the bloody violence going on in the Ukraine. At the same time the public can interact with the folly with a fun way, I can imagine children climbing though the openings while the families wait for their trains, and general public just using it as a rest place in the busy station concourse.
I built the Lego model first, to see how it would look.
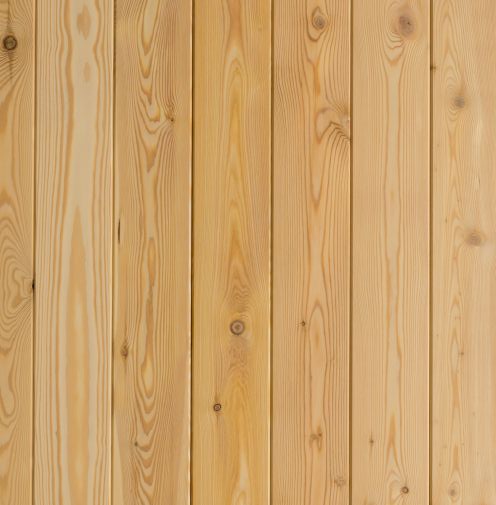
Technical drawing was challenging but enjoyable, as usual. I consulted the in-house carpenter on choice of materials. On his advice I chose the frame structure elements to be:
- Base, under the entire structure – osb board 18mm thick Wickes General Purpose Oriented Standard Board 3 (OSB 3) – 18 x 1220 x 2440mm | Wickes.co.uk
- The middle unit connecting the cross’s arms built using 100 x 100mm fence posts Incised Timber Fence Post 100 x 100mm x 2.4m | Wickes.co.uk
- Timber for remainder of the frame Structural Graded C24 Treated Timbers 3000mm x 100mm x 47mm (buildingmaterials.co.uk)
- I was advised that tongue and grove on the exterior will ‘hold’ the folly together and at right angles. I chose tongue and groves 94mm wide. Wickes PTGV1S Cladding – 19mm x 94mm x 2.4m Pack of 4 | Wickes.co.uk
I struggled and struggled around how the frame components inside my folly will go together, I tried hard and spent a long time working this out. I ended up creating a simple SketchUp model of my folly and sliced it with a section plane to help me understand what will and what won’t be sliced by section line. This was my first time using SketchUp and I found the software easy to navigate. I realise that my CAD drawings are far from perfect and there are probably some errors, but on the other hand they communicate the design well.
This time round I created a template for title block – specifically for study projects. I also overcame difficulties with plotting in CAD – for some reason all new cad files I create have a tiny paper space, so small that a dashed line appears solid in the viewport. I resolved it and now with my template it will be an easy fix in all future drawings.
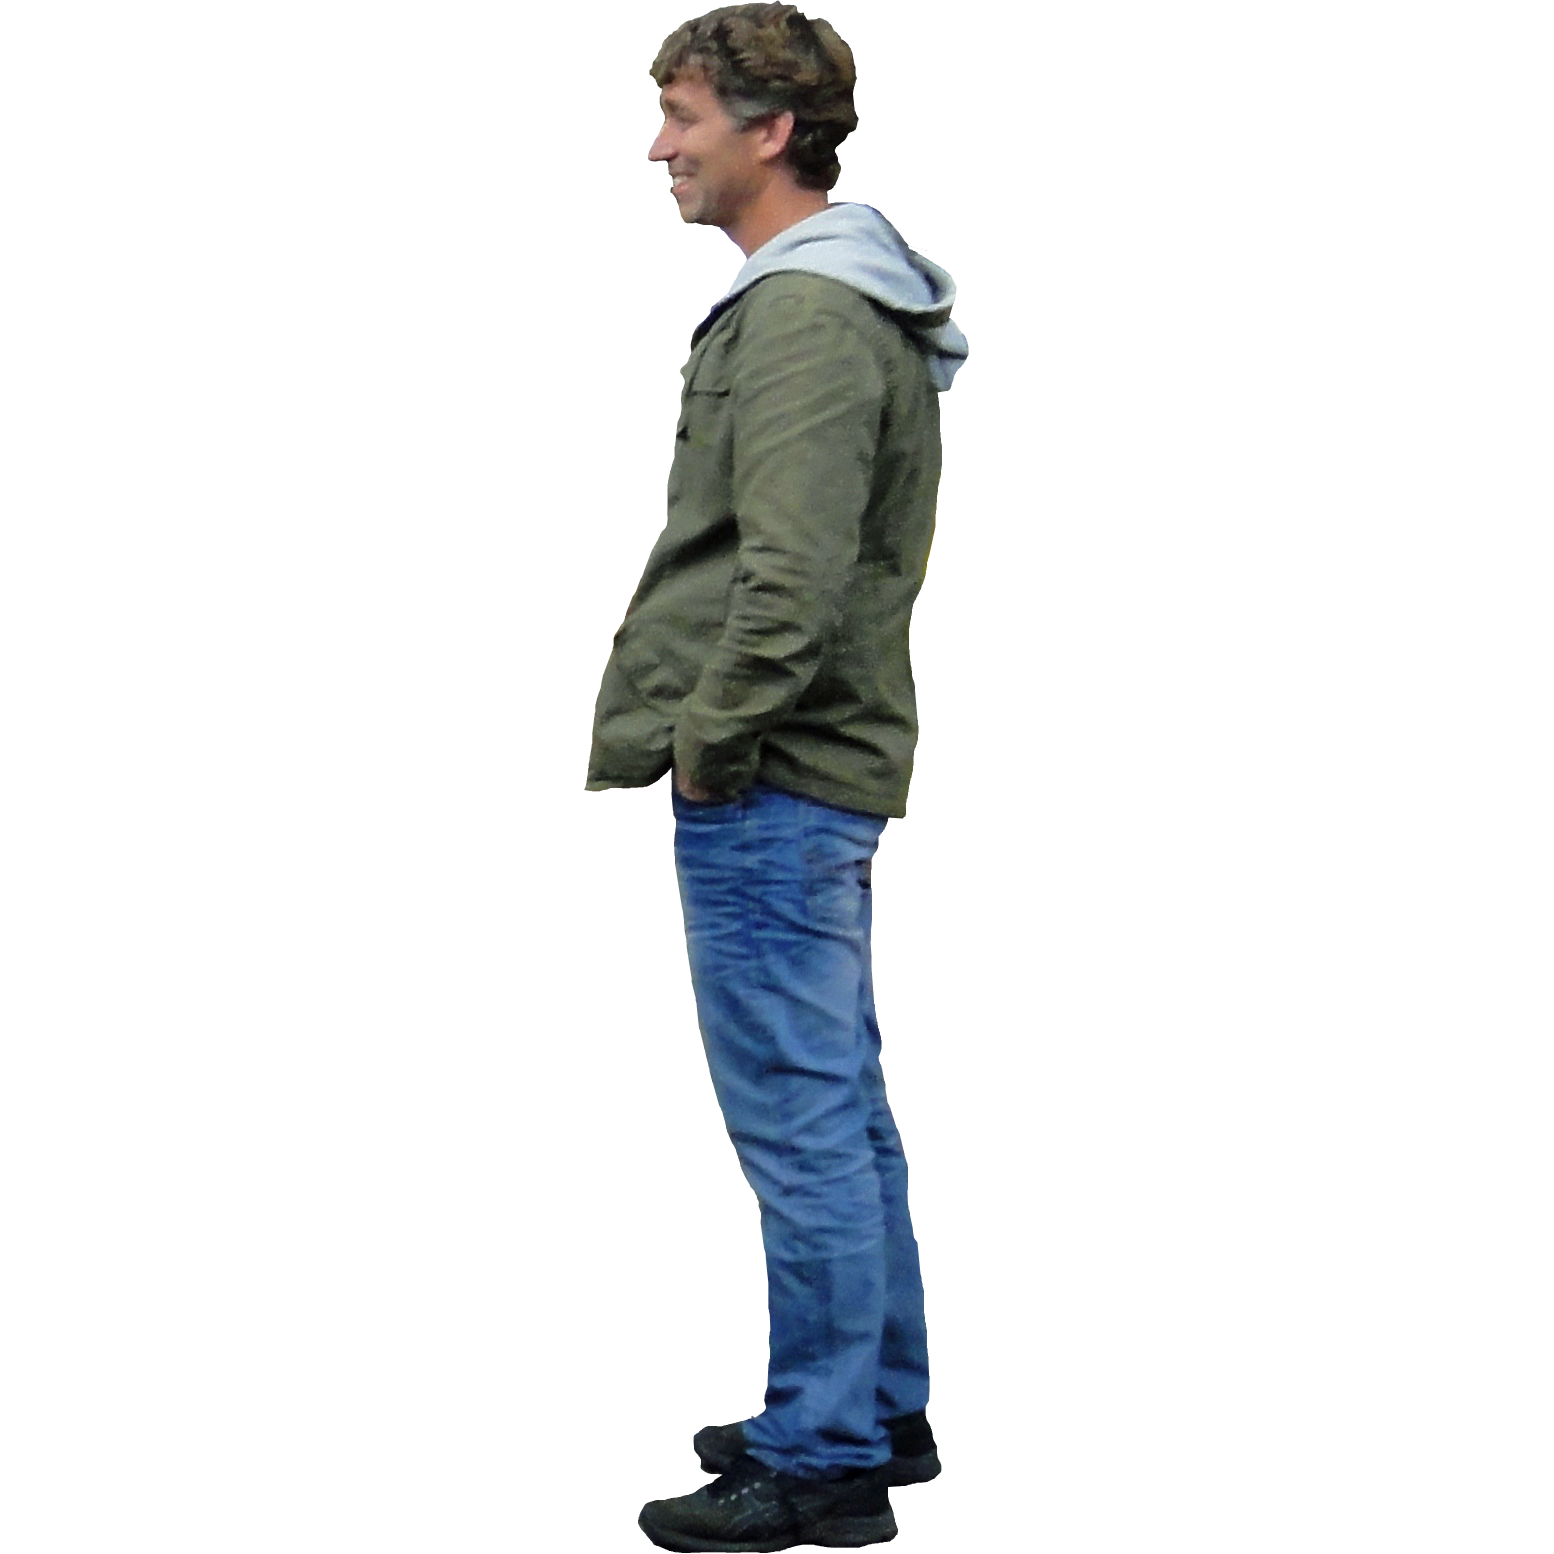
My photoshop skills are not up to scratch yet. I’m not quite happy with the final result, I need to learn better how to do realistically looking shading and render. I used Euston station image and human figures found online to bring the design to life. Here is where I found them:
Photographer in the visual https://www.pikpng.com/pngl/m/357-3572528_photographer-cameraman-tumblr-camera-man-png-people-cut.png
Man standing next to folly, posing in the visual https://pngimg.com/uploads/man/man_PNG6520.png
Teenager with a smartphone in visual https://www.mrcutout.com/images/cutouts/teenager-with-a-smartphone-sitting-0001-watermarked.jpg
Couple taking a selfie in visual https://escalalatina.com/wp-content/uploads/2022/01/Selfie-Cen-Qro.png
Background image for visual https://cdn.ca.emap.com/wp-content/uploads/sites/9/2020/12/Euston-concourse-December-2020-scaled-e1608297992636-1024×684.jpg
The recent storyboarding tutorial I took part in helped me understand design presentation process.
I created the storyboarding template, but as seen in the image it changed as I worked. Nevertheless, having this little plan to hand helped me a lot with creating the presentation document.
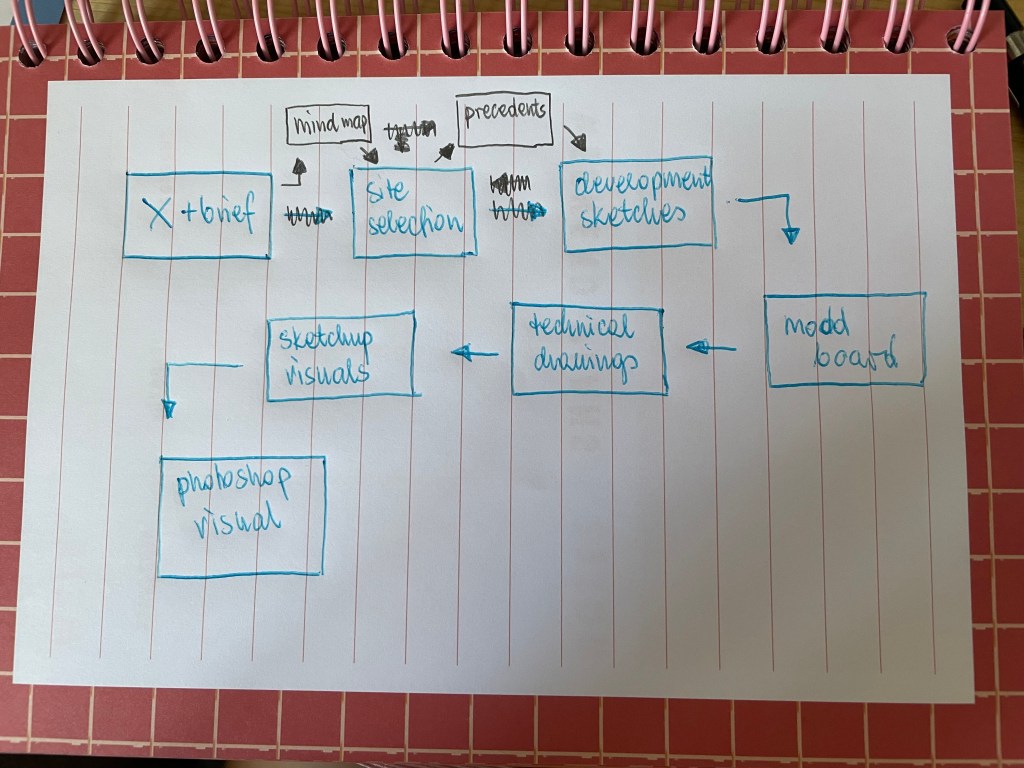
I wasn’t sure I if you can skip some annotations in presentation document. I didn’t add annotation to this image on my materials page, I thought adding writing there would ruin the look of the page.
I enjoyed Part 2, even though some exercises took longer than expected. I refer to the research of Serpentine Pavilion project, to which references, and list of illustrations were 7 pages long! I enjoyed getting creative with it though.
Part 2 included learning about use, boundaries, and parameters of the space. It included fun and creative activities. There were also invaluable research tasks enriching my knowledge. I am happy I found Felipe De Castro who draws fun building designs based on everyday objects.
I am looking forward to starting next part!
Presentation document list of illustrations
Fig. 1 Adams, P. (2012) Kings Cross Station Western Concourse. [Photograph] At: https://images.adsttc.com/media/images/5006/0367/28ba/0d07/7900/2964/slideshow/stringio.jpg?1414098073 (Accessed 22/05/2022)
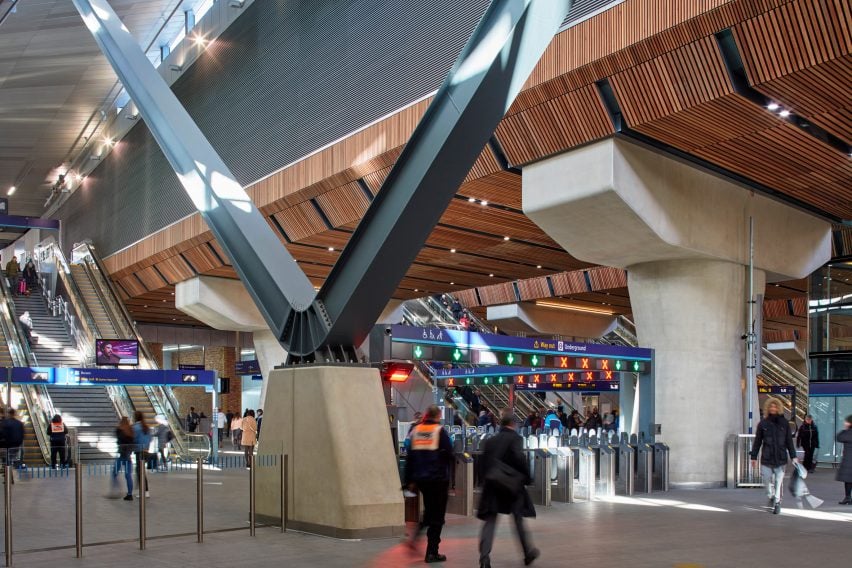
Fig. 2 Raftery, P. (2018) London Bridge Station. [Photograph] At: https://static.dezeen.com/uploads/2018/08/london-bridge-station-grimshaw-refurbishment-architecture-_dezeen_2364_col_3-852×568.jpg (Accessed 22/05/2022)
Fig. 3 Brown, E. (2016) London Euston Station – Concourse. [Photograph] At: https://live.staticflickr.com/5473/31245369411_c7ee94d24e_5k.jpg (Accessed 22/05/2022)
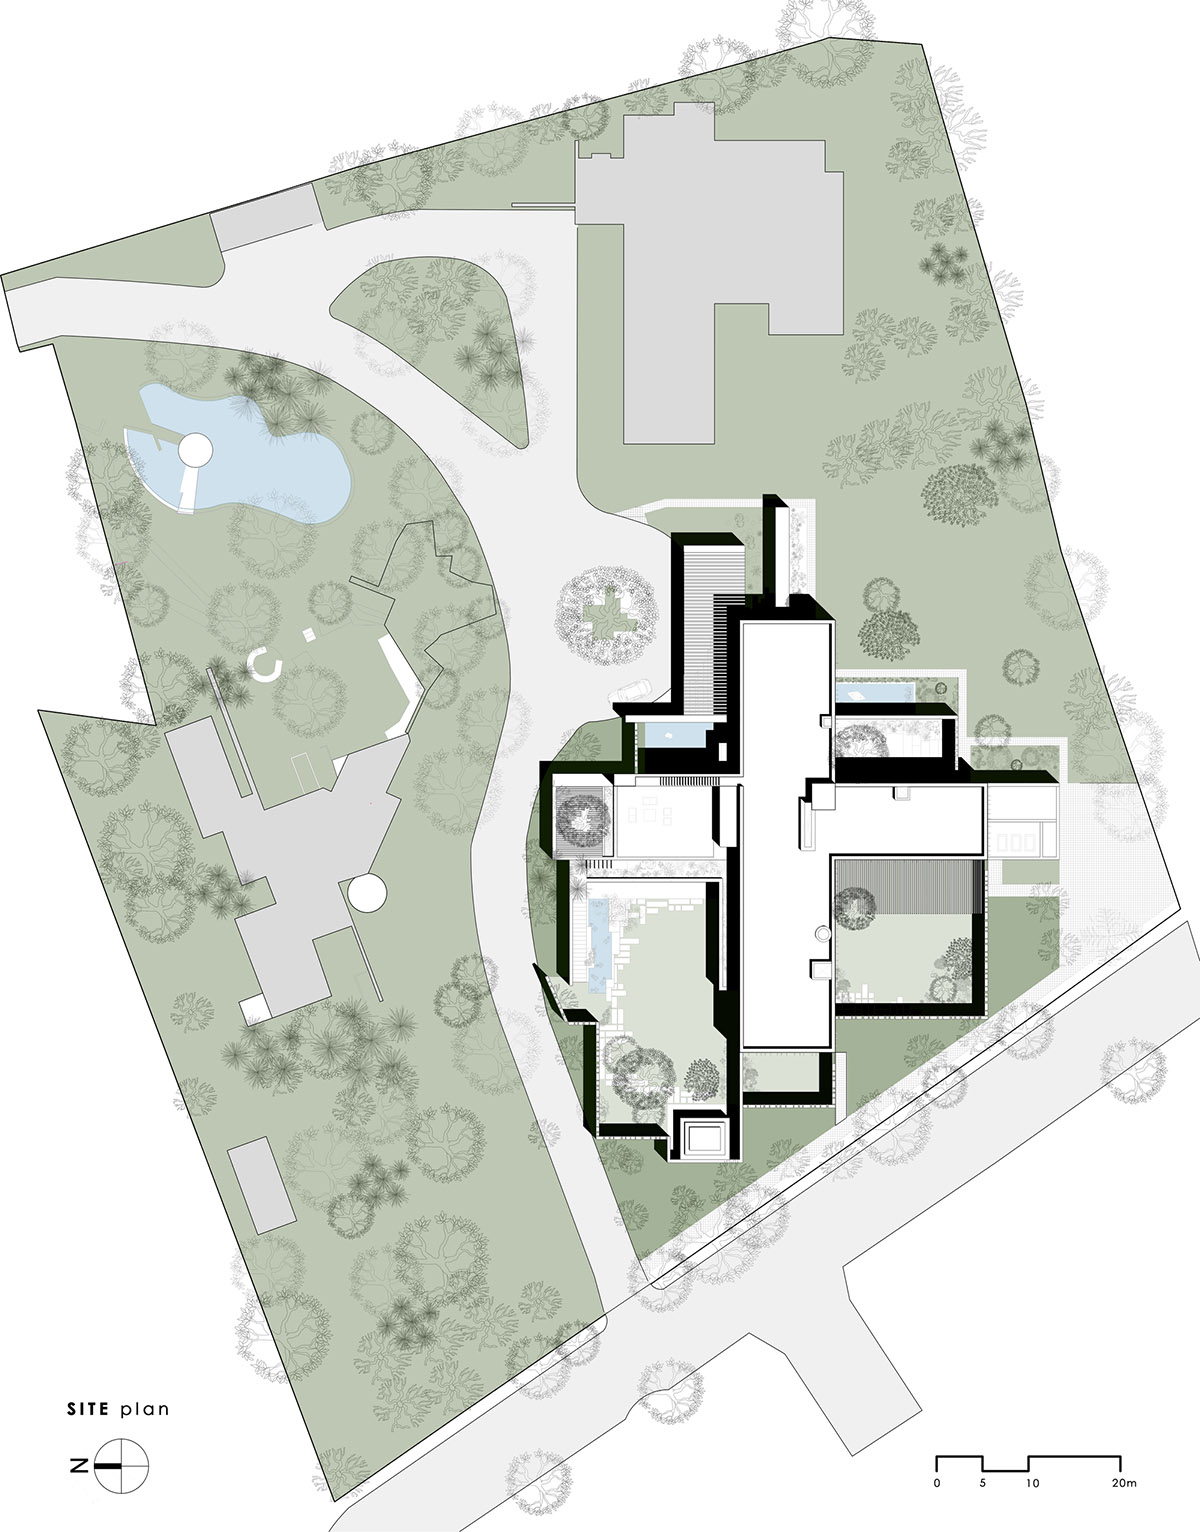
Fig. 4 Spasm Design (2022) Site Plan. [Drawing] At: http://cdn.home-designing.com/wp-content/uploads/2018/09/Home-plan-4.jpg (Accessed 22/05/2022)
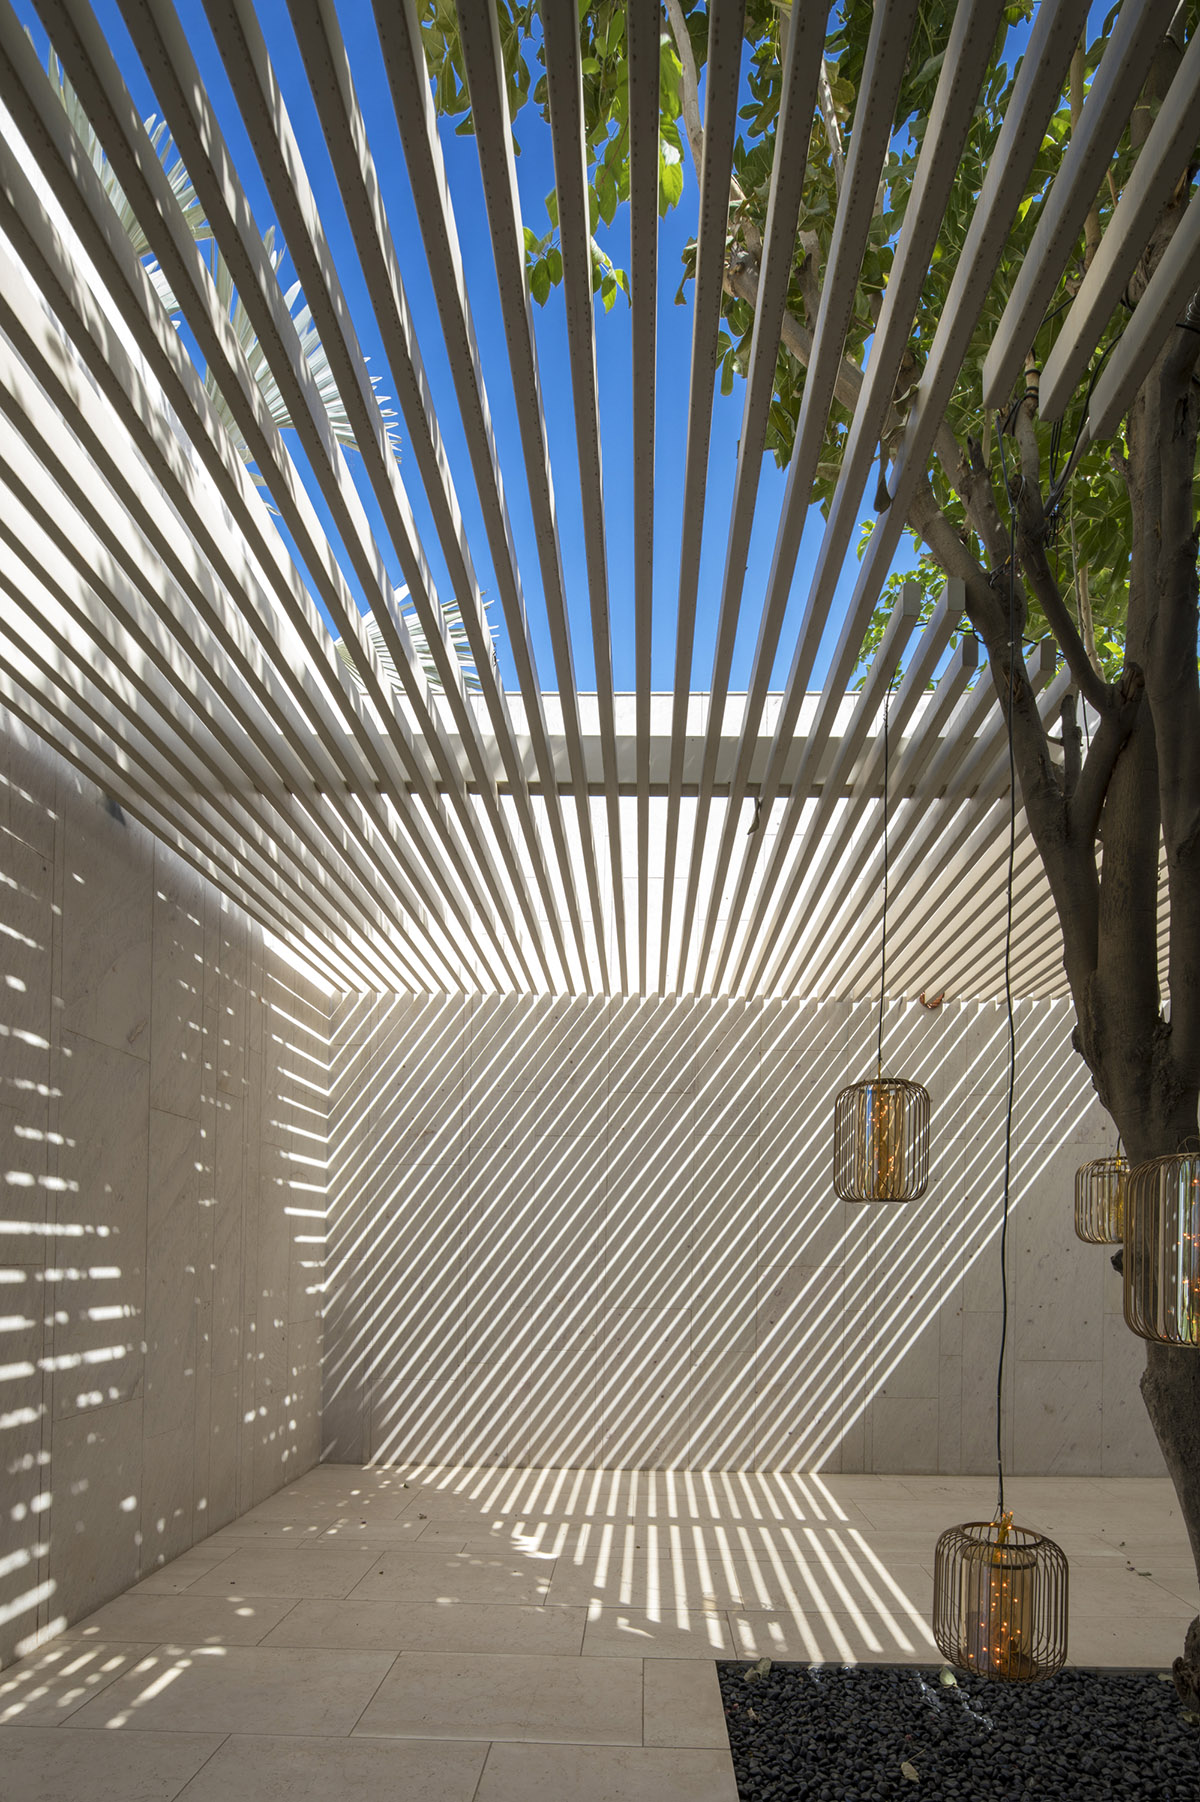
Fig. 5 Spasm Design (2022) Slatted ceiling. [Photograph] http://cdn.home-designing.com/wp-content/uploads/2018/09/Slatted-ceiling.jpg (Accessed 22/05/2022)
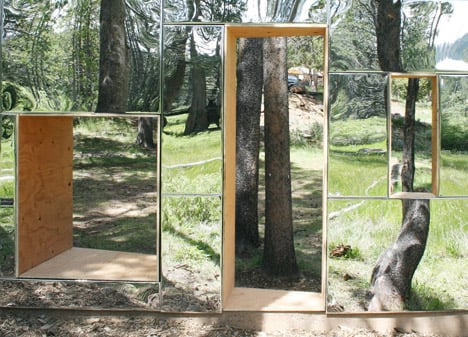
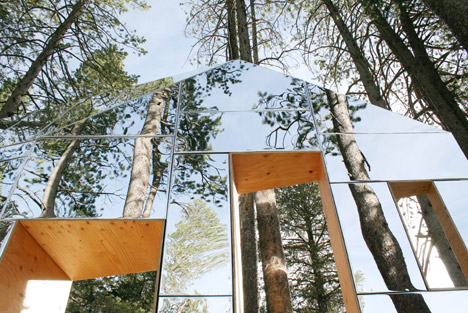
Fig. 6 STMPJ (2015) Invisible barn. [Photograph] At: https://static.dezeen.com/uploads/2015/07/Invisible-Barn_STPMJ_dezeen_468_3.jpg (Accessed 22/05/2022)
Fig. 7 STMPJ (2015) Invisible Barn. [Photograph] At: https://static.dezeen.com/uploads/2015/07/Invisible-Barn_STPMJ_dezeen_468_7.jpg (Accessed 22/05/2022)
Fig. 8 Buy Sheds Direct (2022) Tongue and groove cladding [Photograph] At: https://www.silvatimber.co.uk/media/catalog/product/cache/f1b8ab0e44689953590acc819b8ae2b4/s/l/sltgv121sf-3-no-bar_1.jpg (Accessed 22/05/2022)
All other images (unless separately annotated) created by A. Frodel-Shuttleworth (2022) In possession of the author: Epsom.
References
Frearson, A. (2015) Invisible Barn is a mirror-clad folly camouflaged among the trees of a California forest. At: Invisible Barn is a mirror-clad cabin camouflaged among trees (dezeen.com) Accessed (22/05/2022)
Home Designing (2022) Cross Shaped Modern Home in Peaceful Landscaped Gardens. At: Cross Shaped Modern Home In Peaceful Landscaped Gardens (home-designing.com) (Accessed 22/05/2022)
